


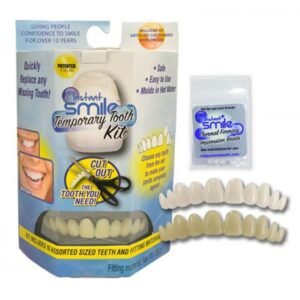


Mold able False Teeth
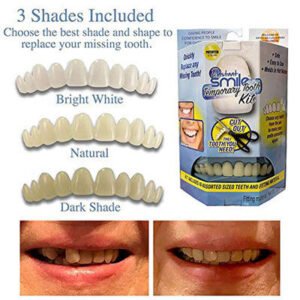
1. Select the Best Shade of Temporary Teeth
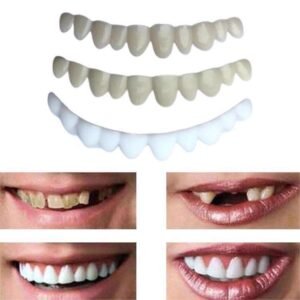
The Temporary Tooth kit comes 3 strips of teeth, there are 3 shades total. Choose the shade that most closely matches your natural tooth shade.
2. Cut Out Your New Tooth
Once removed from the strip,you can file and trim the tooth to the desired shape and size to fit the space of your missing tooth.
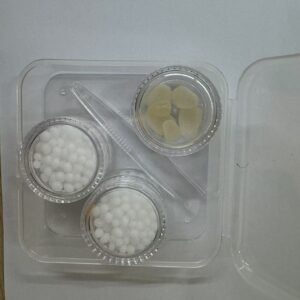
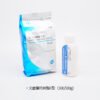
3. Heat the Fitting Material
Heat a cup of water until it is boiling, the water will need to be very hot. Take about 10-15 white fitting beads(approx one third of the bag) and drop them into the hot water. After about a minute, the beads should turn clear. Once the beads are clear, scoop them out of the water with a metal spoon.
4. Apply the Fitting Material to the Tooth
Take the clear fitting beads and roll them into the shape of a ball. Apply the softened fitting material onto the back side of the plastic tooth(make sure the back of the tooth is dry). The beads should stick to the plastic.
5. Fitting the tooth
While the fitting material is still clear and soft, insert the tooth into the space of your missing tooth. Hold the tooth in the correct position. Once the tooth is in the correct position, gently squeeze on the tooth so that the fitting material is pressed behind your surrounding teeth.
6.Let them Cool
Once the fitting material is spread behind your natural teeth and it feels like you have a secure fit, let the tooth cool in place. It should only take a few minutes to cool and harden while in your mouth.
*The fitting material can be reheated as many times as you want.
$1.60 – $7.00Price range: $1.60 through $7.00

$0.50 – $2.00Price range: $0.50 through $2.00
Related products

glass ionomer cement
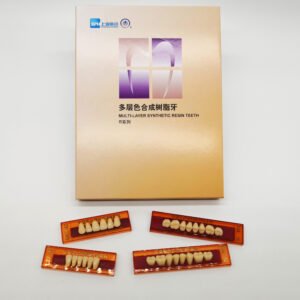
Synthetic Acrylic Resin Teeth
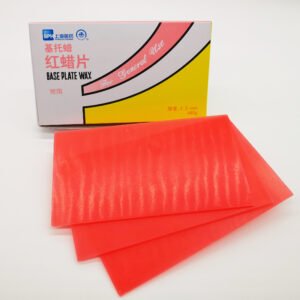
base plate wax

Denture Base Resin
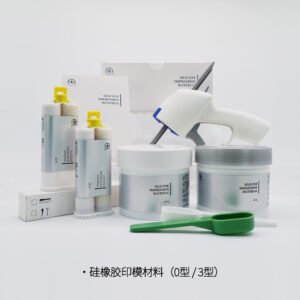
Silicone Impression Materials
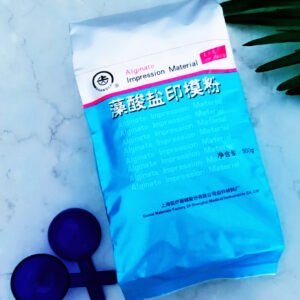
Alginate Impression Materials


Reviews
There are no reviews yet.